 Itemlume
PRACTICAL ANSWER / Packaging studio
Why does the last word on my bottle label disappear at the seam?
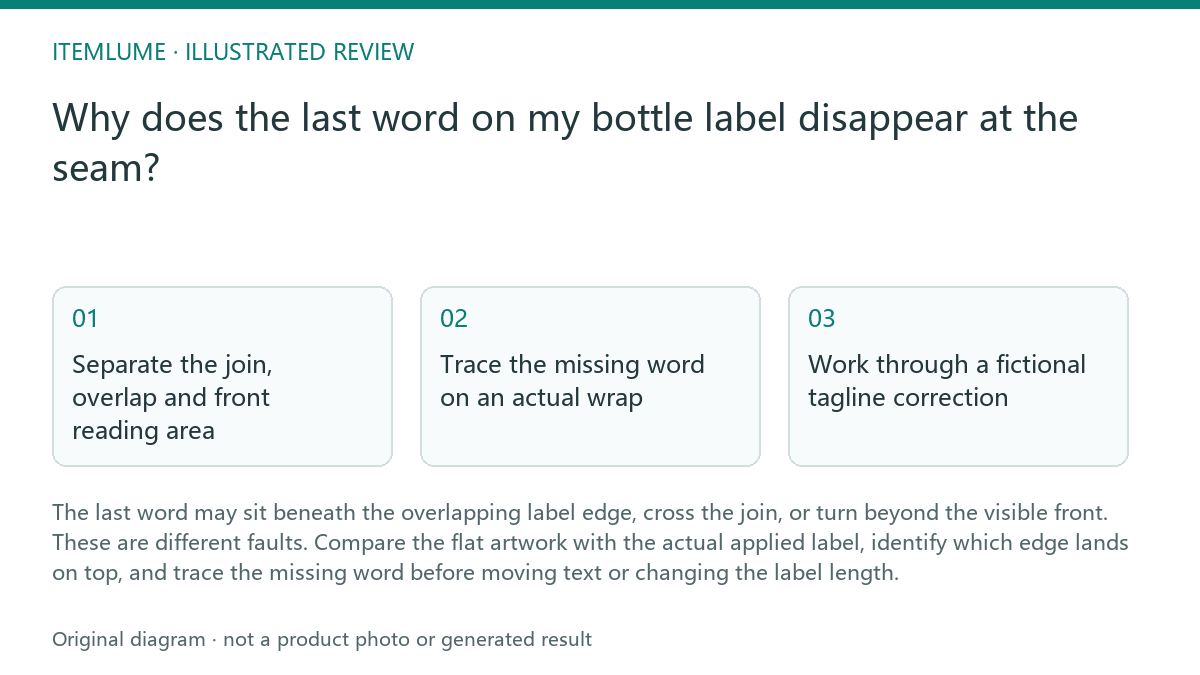
The last word may sit beneath the overlapping label edge, cross the join, or turn beyond the visible front. These are different faults. Compare the flat artwork with the actual applied label, identify which edge lands on top, and trace the missing word before moving text or changing the label length.
Separate the join, overlap and front reading area
The seam is the join between the label ends. The overlap is the strip where one end covers the other. The front reading area is the curved surface readable from your chosen viewing position. A word can lie outside that front area without being covered, while a word beneath the overlap remains hidden as you rotate the bottle.
Mark all three areas separately on a working copy. Identify the covering edge and covered edge from an applied sample; artwork orientation alone does not establish application direction. If the tagline only becomes readable after rotation, investigate front placement. If rotation never reveals it, inspect beneath the covering edge.
Trace the missing word on an actual wrap
Use the intended container and a paper proof printed at actual size. A screen mockup can suggest placement but cannot prove the wrap. Measure around the label’s application band, then compare that circumference with the cut label length. Their difference suggests overlap only when the label sits level on a cylindrical surface.
Run the checks below before editing. Stop approval if the application direction, cut size or actual overlap is unresolved. Also stop if the wrap wrinkles or drifts vertically: that sample cannot reliably confirm a seam correction. Ask the printer or label applicator to resolve those conditions first.
- Confirm the proof has printed at actual size and mark its cut edges.
- Measure the container around the intended label band and record the cut label length.
- Wrap in the intended application direction; mark the covering edge and the hidden strip.
- Trace the final word against those marks, then rotate the container to separate concealment from curved-view loss.
Work through a fictional tagline correction
Fictional exercise: a cylindrical jar measures 200 mm around its label band, and the cut label is 208 mm long. The trial wrap produces an 8 mm overlap. Measured from the covered edge, the tagline’s final word occupies positions 3–7 mm, placing it entirely beneath the covering end. Rotation cannot reveal it.
In this fictional exercise, move the complete tagline to a clear front panel and reflow it onto shorter lines. Avoid shifting only the last word into an isolated position. Print and wrap the revision again, then check both concealment and front readability. The example’s overlap is a measured exercise value, not a recommended allowance.
Approve the applied result and preserve the handoff
Keep the approved flat proof alongside photographs of the applied front and seam. Mark the overlap, application direction and text placement in the handoff. Ask the production supplier to confirm the allowance needed for its materials and application process; a successful hand wrap does not establish production tolerances.
Use the review table to accept or return the revision. Pass only when the full phrase remains uncovered and reads from the intended front position. This is a physical proofing workflow: a packaging concept or visual mockup does not verify label fit or supply manufacturing-ready artwork.
Seam and tagline review: pass or fail
| Observation | Next check | Pass condition |
|---|---|---|
| Final word stays missing during rotation: fail | Locate the word beneath the covering edge. | The complete word lies outside the measured covered strip. |
| Word appears only after rotation: front-reading fail | Compare tagline position with the chosen front view. | The complete tagline reads from that view. |
| Join cuts through a letter: fail | Inspect letter placement against both cut edges. | No tagline letter crosses the join. |
| Wrap wrinkles or changes height: stop | Resolve application alignment and container geometry. | A level, repeatable wrap supports the placement check. |
Sources and further reading
Sources for this page were checked on . Platform rules can change; verify the current source before publishing. Prompt examples and workflow recommendations are Itemlume editorial guidance, not independently measured results.
Frequently asked questions
Should I shorten the label to remove the overlap?
Confirm the construction with the supplier first. Shortening may create a gap or change the intended join.
Can I put background color across the seam?
Yes, if the supplier confirms the construction. Check the applied sample for a visible color break or exposed edge.
Does moving the seam to the back solve the problem?
It can improve front placement, but text on the covered end will still disappear. Recheck the artwork against the new seam position.
BUILD FROM A PRODUCT YOU KNOW
Put this workflow into practice with your own product.
Explore the relevant tool first. AI copy and concept planning are free after sign-in. Image and video generation require available credits and the applicable account access.
Open Packaging studio Check pricing and credits